


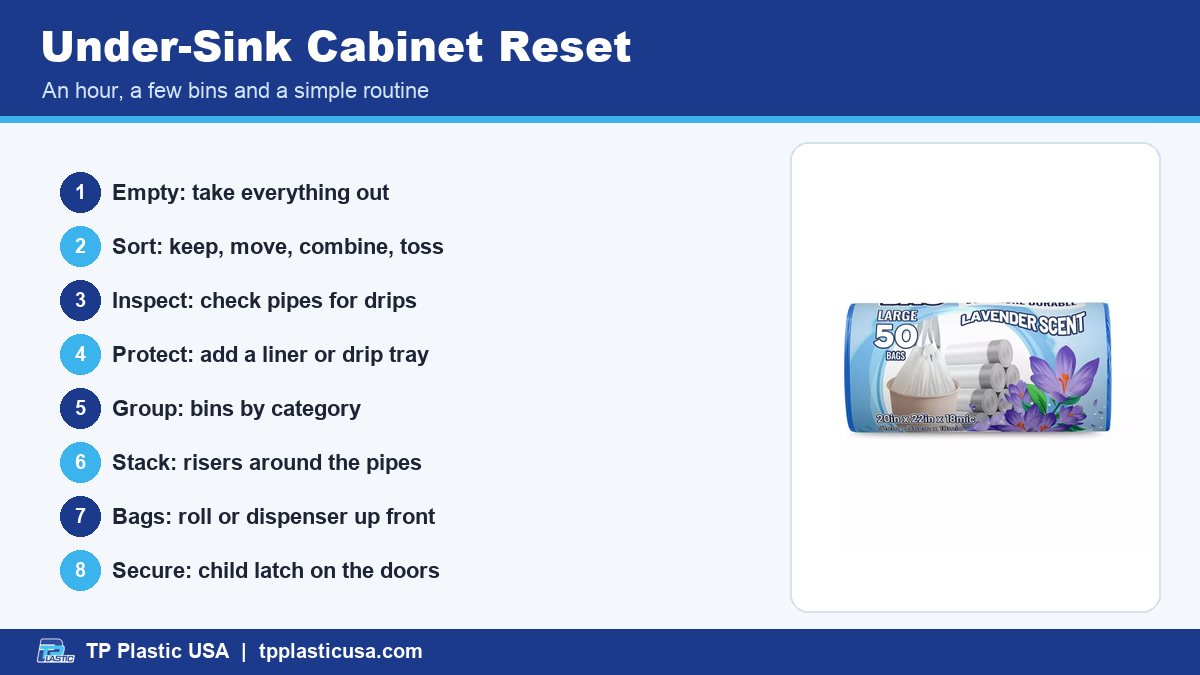
The cabinet under the kitchen sink is where good intentions go to get lost. Half-empty spray bottles, a crushed box of trash bags, sponges from last spring, and that one mystery bottle nobody remembers buying. Good under sink organization doesn’t take a weekend or a pricey closet system. It takes about an hour, a few bins, and a plan that fits how your kitchen actually works.
This guide walks you through it step by step: clearing everything out, checking for leaks, protecting the cabinet floor, sorting what stays, and setting up an easy system for trash bags so you never dig for a fresh one again.

Start by emptying the cabinet so you can see everything you own.
Step 1: Empty the Cabinet Completely
Take everything out. Not most things, everything. Put it all on a towel on the counter or floor so you can see what you own. You will almost always find duplicates (three glass cleaners, two open boxes of dishwasher pods) and items that belong somewhere else entirely.
Sort into four quick piles:
- Keep here: things you use at the sink every week, like dish soap refills, dishwasher detergent, sponges, and trash bags.
- Move: items used in other rooms, like bathroom cleaner or furniture polish.
- Combine: half-empty bottles of the same product.
- Toss: dried-out sponges, empty containers, and products you haven’t touched in a year. Follow the label and your local rules when disposing of cleaning chemicals.
Step 2: Check for Leaks and Line the Cabinet Floor
With the cabinet empty, this is the perfect time to look closely at the plumbing. Run the faucet for a minute, then check the drain trap, the supply lines, and the base of the dishwasher connection. Run a dry paper towel along the pipes and joints. If it comes away damp, or you notice soft or swollen wood, stains, or a musty smell, deal with that before organizing. A slow drip can quietly ruin a cabinet floor and everything stored on it.
While you’re there, wipe the cabinet interior with warm soapy water and let it dry fully with the door open.
Add a liner
A liner protects the cabinet base from drips, spills, and the rings that form under bottles. You have a few options:
- Waterproof mat or tray: raised edges catch small leaks so you notice them early.
- Shelf liner: easy to cut to size and simple to replace.
- A shallow bin under the trap: a cheap “drip catcher” right where leaks usually start.
Whatever you choose, keep it easy to pull out and wipe. Check it every few weeks as a free early-warning system for leaks.
Step 3: Use Bins, Risers and Vertical Space for Under Sink Organization
The biggest challenge under a sink is the pipe in the middle. Work around it instead of fighting it.
Group items in bins
Use two or three bins with handles so you can pull out a whole category at once: “dish and dishwasher,” “surface cleaners,” and “sponges and brushes.” Bins also contain spills, so one leaky bottle doesn’t soak the whole cabinet.
Add height with risers or small shelves
A two-tier organizer or an expandable under-sink shelf that fits around the pipes can double your usable space. Put tall bottles on the bottom and smaller items on top.
Use the cabinet doors
Adhesive hooks or a slim over-door caddy can hold rubber gloves, a scrub brush, or a small dustpan. Just make sure anything on the door clears the pipes and shelf edges when you close it.
Try a tension rod
A short tension rod mounted near the top lets you hang spray bottles by their triggers, which frees up the floor for bins.
Step 4: Set Up a Smart Trash Bag Station
Trash bags are the item you reach for most, so give them a dedicated spot near the front. A few systems work well:
- Roll-in-the-can trick: drop a whole roll into the bottom of the kitchen trash can, under the current bag. When you pull out a full bag, the next one is right there. (Skip this if your can gets wet at the bottom.)
- A dispenser box or bin: keep an opened roll in a small box so bags feed out one at a time and the roll never unravels across the cabinet.
- Interleaved bags: bags that are folded into each other pop up one at a time, a bit like tissues. See our comparison of interleaved vs. rolled trash bags to decide which style suits your kitchen.
Make sure you’re buying the right size for your can, too. A liner that’s too small slips down, and one that’s too big wastes plastic and space. Our trash can liner size chart makes matching them quick. Many kitchens do well with drawstring trash bags, which tie closed easily and stay put on the rim.

Scented drawstring bags on a roll fit neatly in a small under-sink bin.
If your cabinet tends to smell stale, a roll of scented trash bags is a simple swap. For more ideas, see our tips on getting rid of trash can odors.
Step 5: Keep Cleaning Products Safe From Kids and Pets
The under-sink cabinet often holds the most hazardous products in the house. If little ones or curious pets live with you, safety comes before looks:
- Install a child safety latch or magnetic lock on the cabinet doors.
- Store the strongest chemicals in a lidded bin toward the back, not at the front.
- Keep products in their original containers with labels intact.
- Never store bleach and ammonia-based products next to each other.
- Keep plastic bags and rolls away from children and pets, too. A dispenser box helps.
If you’d rather not keep chemicals under the sink at all, move them to a high shelf and keep only dish soap and bags down low.
Step 6: Add a Small Bin for Recycling or Extras
If you have room, a small lined bin can hold rinsed containers until recycling day, or collect soft plastics and bottles you plan to drop off. Follow your local program’s rules on what’s accepted. A small drawstring bag in a narrow bin makes it easy to lift out and carry to the curb. Keep a pair of disposable TPE gloves nearby for gross jobs like clearing a clogged drain basket or wiping out a sticky bin.

Bins, a riser and a liner turn an awkward cabinet into usable storage.
Step 7: Keep It Organized With a Simple Routine
An organized cabinet stays that way only if you check it occasionally. Try this:
- Weekly: put things back in their bins and toss worn sponges.
- Monthly: check the liner and pipes for moisture, and note what’s running low.
- Every few months: pull everything out, wipe the base, and rotate older products to the front so they get used first.
That’s the secret to under sink organization that lasts: small, regular resets instead of one big overhaul. Keep a short “restock” list on your phone or taped inside the door, with trash bags, dish soap, and dishwasher detergent at the top. For more home organizing ideas, see our guide to plastic storage solutions for an organized home.
Frequently Asked Questions
What should not be stored under the kitchen sink?
Avoid storing food, paper goods that are ruined by moisture, and anything flammable near the plumbing. If you have kids, move strong chemicals up high or lock the cabinet.
How do I stop my under-sink cabinet from smelling musty?
Check for leaks first, then clean and dry the base fully. Leave a small open box of baking soda inside and empty the kitchen trash often.
Where is the best place to keep trash bags in the kitchen?
Near the front of the under-sink cabinet or in the bottom of the trash can itself, so a fresh bag is always within reach when you take out the old one.
Ready to restock your station? Browse our trash bags for sizes that fit every kitchen can.


