


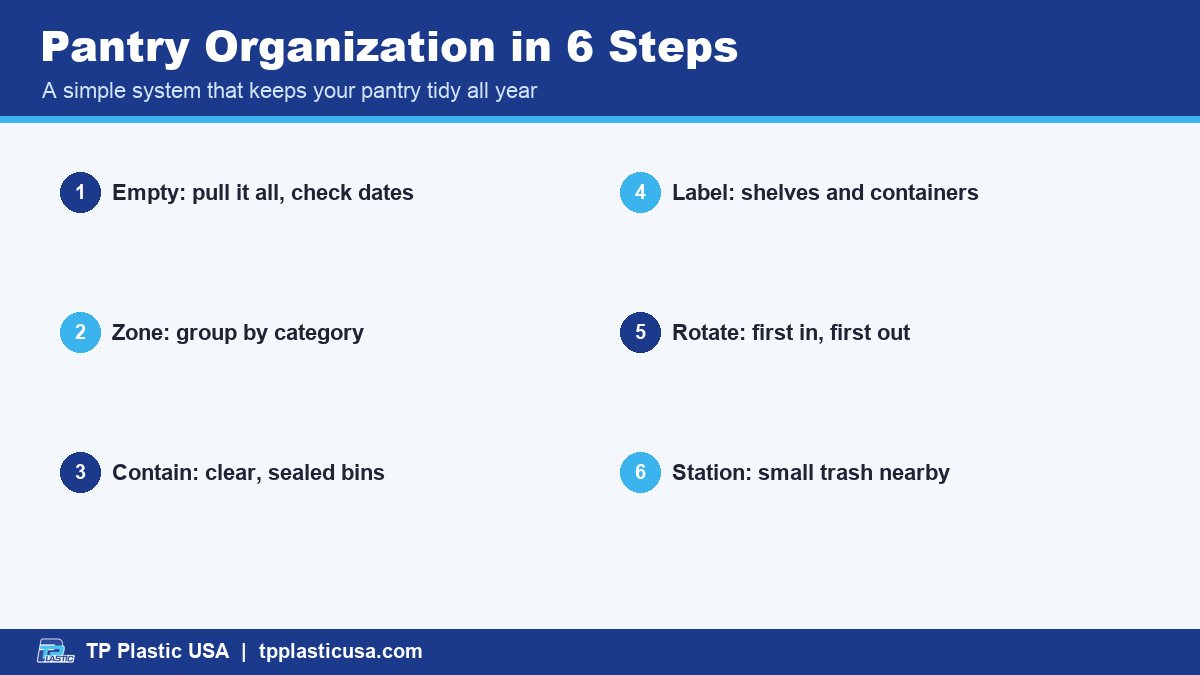
Most of us have organized the pantry at least once, only to watch it slide back into chaos within a month. The secret to pantry organization that actually lasts isn’t fancy containers. It’s a simple system: know what you have, give everything a home, and make it easy to put things back. Here’s how to set one up in an afternoon and keep it working all year.

Clear, sealed containers make it easy to see when you're running low.
Step 1: Empty Everything and Check Dates
Start with a clean slate. Take every item off the shelves and set it on the counter or kitchen table. It feels like a big mess at first, but it’s the only way to see what you really have.
- Check “best by” and “use by” dates and toss anything that is clearly past its prime.
- Look for open bags that have gone stale, and for signs of pantry pests like webbing or tiny holes.
- Group duplicates together. You may find three open boxes of the same pasta.
- Set aside unopened items you won’t use for a food bank donation, if they accept them.
While the shelves are empty, wipe them down and vacuum crumbs from the corners. Let them dry before you restock.
Step 2: Create Zones for Pantry Organization
Zones are the heart of good pantry organization. Instead of putting things wherever they fit, give each category its own area so everyone in the house knows where to look.
Common pantry zones include:
- Breakfast – cereal, oatmeal, pancake mix, nut butters
- Baking – flour, sugar, baking soda, chocolate chips
- Grains and pasta – rice, pasta, quinoa, crackers
- Canned goods – beans, tomatoes, soups, broth
- Snacks – put kids’ snacks on a low shelf they can reach
- Backstock – extra items bought on sale, on the top shelf
Put the things you use daily at eye level. Heavy items like canned goods and bulk bags belong on lower shelves, and rarely used items go up high.
Step 3: Use Clear, Sealed Containers
Clear containers let you see at a glance when you’re running low. Airtight lids help keep food fresh longer and are one of the best ways to keep pantry pests out, since bugs can get into thin paper and cardboard packages.
You don’t need to decant everything. Focus on foods that come in floppy bags or flimsy boxes: flour, sugar, rice, pasta, cereal and snacks. Square or rectangular containers use shelf space better than round ones. If you’re short on space, start with just the baking zone and add more containers over time.
For extra ideas on bins and containers around the house, see our list of plastic storage solutions for an organized home.
Step 4: Label Everything
Labels turn a tidy pantry into a lasting one. When every shelf and container is labeled, family members put things back in the right place without asking.
- Label shelves by zone, not just containers.
- On decanted containers, write the item name and the expiration date. Masking tape and a marker work fine.
- Keep baking directions by cutting them from the original box and taping them inside the lid.

First in, first out keeps older food from getting lost in the back.
Step 5: First In, First Out
When you bring home new groceries, put them behind the older ones. This simple first-in, first-out habit means older items get used first, so less food goes to waste. Turntables in corners and stair-step risers for cans make it easier to see what’s in back. For more ways to use what you buy, read our tips to reduce food waste at home.
Buying in bulk without the clutter
Bulk buys save trips, but a 20-pound bag of rice can take over a shelf. Refill a smaller everyday container from the big bag, then store the rest in a sealed bin on a low shelf or in a cool, dry spot nearby. Keep a running list on the pantry door so you know when to restock.
Step 6: Add a Small Trash and Recycling Station
If your pantry is a walk-in or sits near the kitchen, a small trash and recycling station nearby makes unpacking groceries faster. Boxes, wrappers and empty jars go straight into the right bin instead of piling up on the counter.
Use a small lidded can lined with a drawstring trash bag for wrappers, and a separate bin for recyclables if your local program collects them. Check your local rules for what goes where. If space under the sink is tight, our under-sink organization guide has a few more ideas for fitting bins into small spaces.
Keep It Working All Year
Even the best system needs a quick reset. Every week, take five minutes to push items back into their zones and add low items to the shopping list. Every season, do a mini clean-out: check dates, wipe shelves and adjust zones if your habits have changed. Before big holiday cooking, a quick pantry check also helps you avoid buying a fourth jar of cinnamon. And for leftovers that end up in the fridge rather than the pantry, our cling wrap kitchen hacks help keep them fresh.
Frequently Asked Questions
How often should I reorganize my pantry?
Do a five-minute tidy each week and a deeper clean-out every season. A full reset once or twice a year is usually enough.
What’s the best way to keep bugs out of the pantry?
Store dry goods like flour, rice and cereal in sealed containers, wipe up spills quickly and check older packages for signs of pests.
Do I need matching containers for pantry organization?
No. Matching containers look nice, but clear, sealed and labeled matters more than matching.
Setting up a small kitchen trash station? Take a look at our drawstring trash bags in sizes for small cans.


