


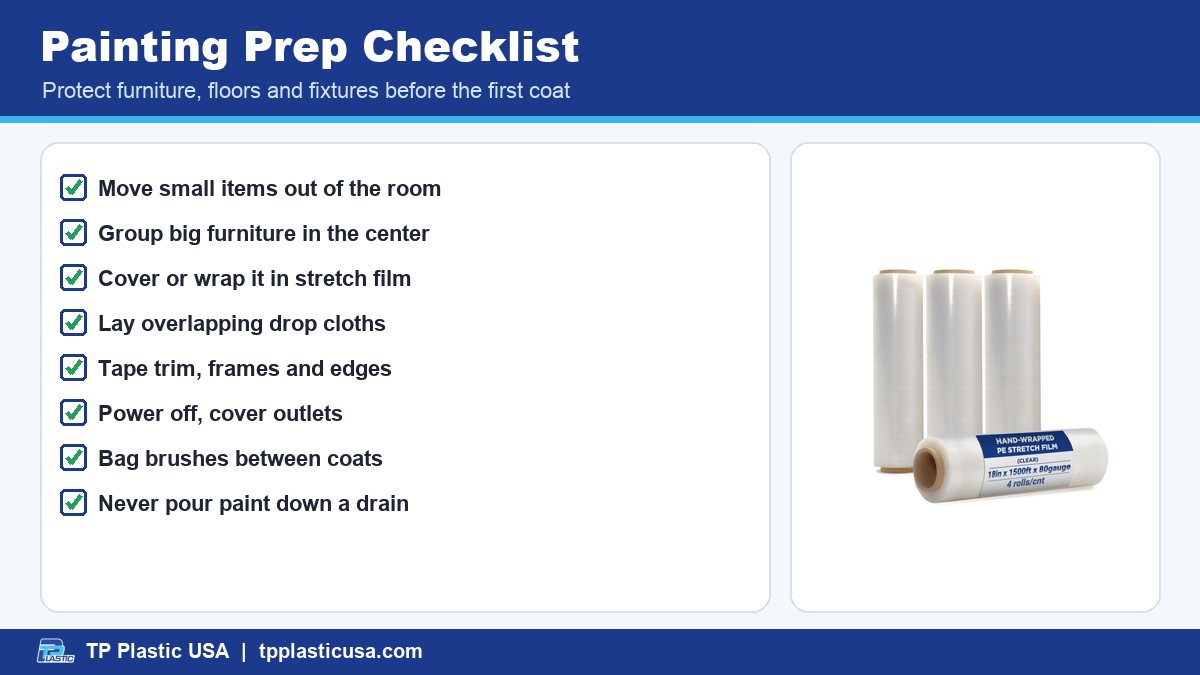
Fresh paint can change the whole feel of a room in a weekend. What usually takes longer than the painting itself is cleaning up drips on the floor, speckles on the sofa and a stray roller mark on the trim. Good painting prep fixes that before it happens. With an hour of covering, wrapping and taping, you can paint with confidence and spend your time on the walls instead of scrubbing everything else.
Here’s a simple, step-by-step plan to protect your furniture, floors and fixtures, plus tips for storing brushes between coats and cleaning up the right way.

Group furniture in the center of the room and wrap it before you paint.
Step 1: Clear and Group the Furniture
The best way to protect furniture is to move it out of the room. Take out lamps, side tables, chairs, wall art and anything small enough to carry. Put fragile items in another room or a closet where they won’t get bumped.
For heavy pieces like a sofa, dresser or bookcase, push them to the center of the room. This leaves a clear path along every wall for your ladder and drop cloths, and makes the pieces easier to cover as one group. Remove drawer pulls and knobs if they’re close to where you’ll be working, and keep the screws in a small labeled bag so nothing goes missing.
Step 2: Cover or Wrap Furniture for Painting Prep
Once the furniture is grouped, cover it. You have two good options, and many people use both.
Plastic sheeting
Thin plastic sheeting draped over the furniture pile keeps drips and roller spatter off. Tuck the edges under the legs or weigh them down so the sheet doesn’t slide off when you brush past it.
Stretch film for a snug wrap
Plastic sheets can slip, especially on smooth leather or polished wood. Stretch film solves that because it clings to itself, so you can wrap a chair, a dresser or a bundle of cushions tightly without tape touching the finish. Hand stretch film like our clear 18 in x 1500 ft, 80 gauge roll covers big pieces quickly, while a narrower 12 in x 1500 ft roll is easier to handle around chair legs and lamp bases.
A few tips:
- Wrap drawers closed so they don’t slide open while you move things.
- Wrap the plastic sheeting on top of a sofa with a few loops of stretch film to hold it in place.
- Remove the wrap once the paint is dry. Stretch film is great for a project, but it’s not meant to stay on furniture for months.
For more ideas on using stretch wrap at home, see our guide to stretch wrap for storage and moving.
Step 3: Protect the Floors
Floors take the most drips. Lay drop cloths along every wall you plan to paint, overlapping them so there are no gaps.
- Canvas drop cloths are heavy, lie flat and are less slippery underfoot. They’re reusable for many projects.
- Plastic drop cloths are inexpensive and block spills, but they can be slippery and paint sits wet on top. Use them under a canvas cloth or in low-traffic spots.
- Tape the edges of drop cloths to baseboards or the floor so they don’t bunch up.
On carpet, use painter’s tape along the bottom edge of the baseboard to protect the fibers, then lay your drop cloth.
Step 4: Tape, Cover Fixtures and Outlets
Painter’s tape gives you clean lines and protects areas you can’t move. Apply it to trim, window frames, door frames and the edge of the ceiling if you’re only painting walls. Press the edge down firmly with a putty knife or your fingernail so paint can’t seep under it.
Next, handle the things fixed to the wall:
- Turn off power at the breaker before removing outlet and switch covers. Keep the screws with each cover, then tape over the outlets.
- Cover light fixtures, door handles and thermostats with plastic bags secured with tape.
- Take down curtain rods and hooks if you can.

Wrap brushes tightly between coats so they stay ready to use.
Step 5: Store Brushes and Rollers Between Coats
You don’t need to wash your brushes and rollers every time you take a break or wait for the first coat to dry. Wrap them tightly in a plastic bag, press out the air, and seal it. Wrapped this way, brushes and rollers usually stay workable through a lunch break or between coats on the same day. Paint trays can be covered the same way. Check the paint can for recoat times and any other directions.
Wear disposable gloves while painting and cleaning up. They keep paint off your hands and make cleanup quicker. Our guide to disposable gloves at home covers more uses around the house.
Step 6: Cleanup and Paint Disposal
When the last coat is done, remove the painter’s tape while the paint is still slightly soft, pulling at an angle for a clean line. Let walls dry fully before moving furniture back.
Gather used plastic sheeting, tape, stir sticks and worn-out rollers into a sturdy bag. Our LD trash bags come in thicker options, from 0.9 mil up to 3 mil, which suits bulky, crinkly cleanup waste.
Paint itself needs more care. Never pour paint down a sink, toilet or storm drain. Rules for disposing of leftover paint vary by city and county, so check your local rules or your household hazardous waste program. Leftover paint that is still good can be sealed tightly and saved for touch-ups.
Frequently Asked Questions
Can I use stretch film to cover furniture when painting?
Yes. Stretch film clings to itself, so it holds plastic sheeting in place or wraps smaller pieces snugly. Take it off once the paint has dried.
Should I use plastic or canvas drop cloths?
Canvas is less slippery and absorbs drips, while plastic blocks spills. Many people use canvas on walkways and plastic under the work area.
How do I dispose of leftover paint?
Never pour it down a drain. Check your local rules or household hazardous waste program for how to handle it in your area.
Planning your painting prep this weekend? A roll of hand stretch film makes wrapping furniture quick and easy.


